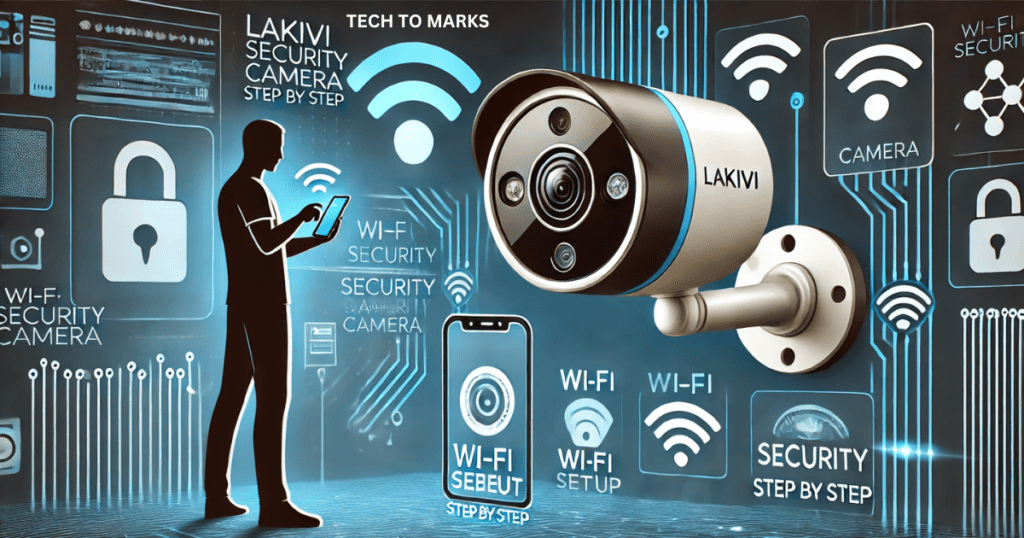
Setting up a security camera might feel challenging, but knowing what to do is more accessible. If you have a Lakivi camera, following the instructions will help you use it best. This article will provide clear and straightforward Lakivi security camera programming instructions to quickly set up and customize your camera for your security needs.
What Are Lakivi Security Camera Programming Instructions?
Lakivi security camera programming instructions are the steps you follow to set up and use your Lakivi camera. These steps will show you how to set up the camera, make it detect movement, set when it records, and connect it to your phone. Following these instructions helps make sure your camera works right and keeps your home or business safe.
Step 1: Unboxing and Initial Setup
Before starting the programming, you must physically set up your Lakivi security camera. Here are the steps to follow:
Unbox the Camera: Take the Lakivi security camera and all its accessories from the packaging. You should find the camera, a power adapter, mounting hardware, and an instruction manual.
Choose a Location: Select a suitable spot for the camera. It ought to have a reasonable perspective on the area you need to screen. Ensure the spot is close to a power source if your camera is not battery-operated.
Install the Camera: Utilize the gave mounting equipment to introduce the camera. Follow the Lakivi security camera programming instructions for mounting, which usually involve attaching the camera base to a wall or ceiling and securing the camera in place.
Power On the Camera: Plug the camera into a power source and wait for it to power up. Some cameras may have an indicator light to show that they are on.
Step 2: Connecting the Camera to Your Wi-Fi
The next step in Lakivi security camera programming instructions is connecting the camera to your network, which allows you to access the camera from your phone or computer.
Use the App or Software: Lakivi cameras usually come with a companion app that you can download on your smartphone or software for your computer. Download the app or software and create an account if you don’t have one.
Connect to Wi-Fi: Follow the on-screen Lakivi security camera programming instructions in the app to connect the camera to your Wi-Fi network. Make sure your network signal is vital where the camera is installed.
Pair the Camera with Your Account: Once the camera is connected to Wi-Fi, add it to your account in the app by following the pairing steps. This process usually involves scanning a QR code on the camera or entering a code manually.
Test the Connection: After pairing, check the camera’s live view to ensure it’s connected correctly. If the live view is working, the camera is successfully set up.
Step 3: Basic Programming Instructions
After the camera is connected, follow the Lakivi security camera programming instructions for basic settings.
Adjust the Camera View: Use the app to adjust the camera’s field of view if it’s a model with a movable lens. Check to see that it covers the area you want to watch.
Set Up Motion Detection: Enable motion detection settings in the app. When movement is detected, this feature will notify you. You can adjust the sensitivity and set up motion zones in specific areas where you want to detect motion.
Configure Notifications: Lakivi security camera programming instructions often include setting up notifications. Decide how to receive alerts—email, text, or app notifications.
Set Recording Preferences: Choose whether you want continuous, scheduled, or only when motion is detected. This helps save storage space and keeps relevant footage.
Step 4: Advanced Programming Instructions
Now that the basic settings are complete, you can move on to advanced Lakivi security camera programming instructions.
Customizing Recording Schedules: To conserve Storage, set up specific times when the camera should record. For example, you may only want recordings during nighttime or when you’re not at home.
Set Up Cloud Storage or SD Card: Lakivi security cameras usually support cloud storage or a microSD card. Follow the instructions to set up Storage for recorded videos. Be sure to select the appropriate storage option for your requirements.
Integrate with Smart Home Devices: If you have smart home devices like Alexa or Google Assistant, you can integrate the Lakivi camera. You can use voice commands to control the camera with this.
Enable Two-Way Audio (if available): Some Lakivi security cameras have two-way audio, letting you speak through the camera. Activate this feature if you want to communicate with someone on the other side of the camera.
Step 5: Troubleshooting Common Issues
Even when you follow the Lakivi security camera programming instructions, problems can still arise. The following are typical issues and their solutions:
Camera Not Connecting to Wi-Fi: If your camera doesn’t connect, ensure the Wi-Fi password is correct and the network signal is strong enough. Restarting the router and camera may also help.
Motion Detection Not Working Properly: Check the motion detection settings in the app. You may need to adjust the sensitivity or motion zones to improve performance.
Camera Image is Blurry: Clean the camera lens and make sure it’s focused on the area you want to monitor. Adjust the camera’s position if needed.
No Notifications: Double-check your notification settings in the app. Ensure notifications are enabled, and your device is set to receive alerts.
Step 6: Maintaining Your Lakivi Security Camera
Proper maintenance ensures your camera works well for a long time. Here are some Lakivi security camera programming instructions for maintenance:
Clean the Camera Lens Often: Dust and dirt can blur the camera’s view, so clean the lens often. Update the Camera’s Software: Make sure the camera’s software is up-to-date by following the instructions in the app. This helps fix bugs and improve how it works. Check the Storage: If you use an SD card, ensure it has enough space. If you use cloud storage, check your plan to ensure you have enough space. Check the Camera Mount: Now and then, make sure the camera is still securely attached. Tighten any loose screws if needed.
Conclusion
Lakivi security camera programming instructions are easy to follow when broken down into simple steps. By setting up the camera properly, customizing the settings, and maintaining the camera regularly, you can make the most of your Lakivi security camera. Whether you’re setting up the camera for your home or business, following these steps will help keep everything safe and secure.
Keep your camera’s software updated and check the settings often to ensure it works properly. Knowing your security system works well will give you peace of mind.
Frequently Asked Questions(FAQs)
How do I reset my Lakivi camera?
There is usually a reset button on the camera. Press and hold it for about 10 seconds, and then follow the Lakivi security camera programming instructions to set it up again.
Does the camera work without an internet connection?
The camera will still record on the SD card if it has one, but features like live viewing and notifications may not work without the internet.
How do I improve the quality of my camera feed?
Adjust the camera’s resolution settings in the app. A higher resolution gives a clearer picture but uses more Storage.
Why Follow Lakivi Security Camera Programming Instructions?
Following the Lakivi security camera programming instructions is essential to ensure the camera functions correctly. These instructions will help you:
Set Up the Camera Properly: Avoid errors during installation by following the steps closely. Optimize Security Settings: Protect your home or business by customizing motion detection, recording schedules, and notifications. Troubleshoot Effectively: Solve common problems faster by knowing the correct steps. Maintain Your Camera: Keeping your camera in good condition extends its lifespan and keeps your security system reliable.